Your basket is currently empty!
UK NEXT DAY DELIVERY ON ORDERS BEFORE 12pm
Personalised Dummy Clips
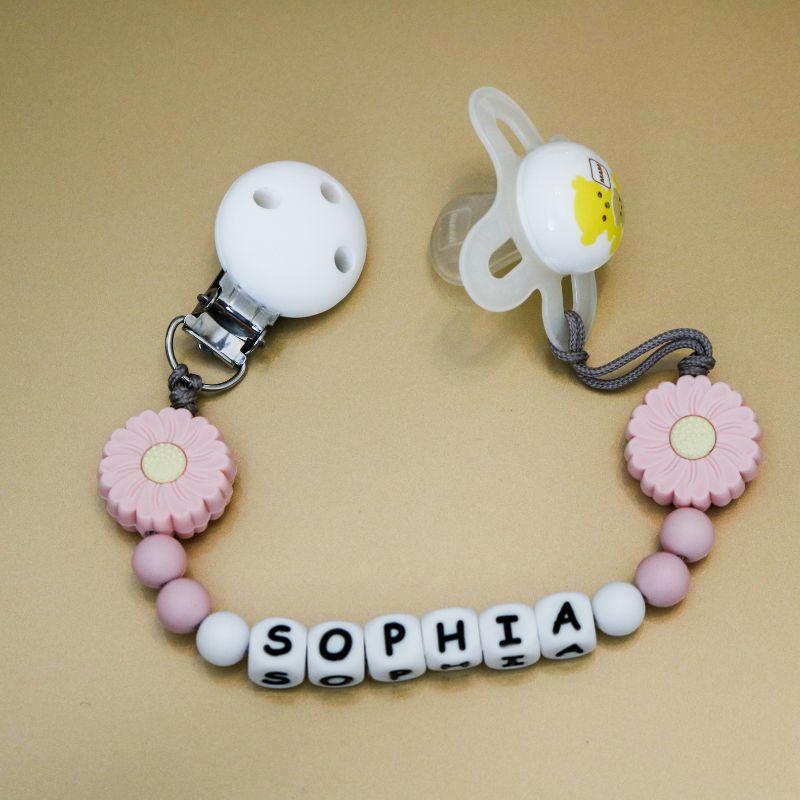
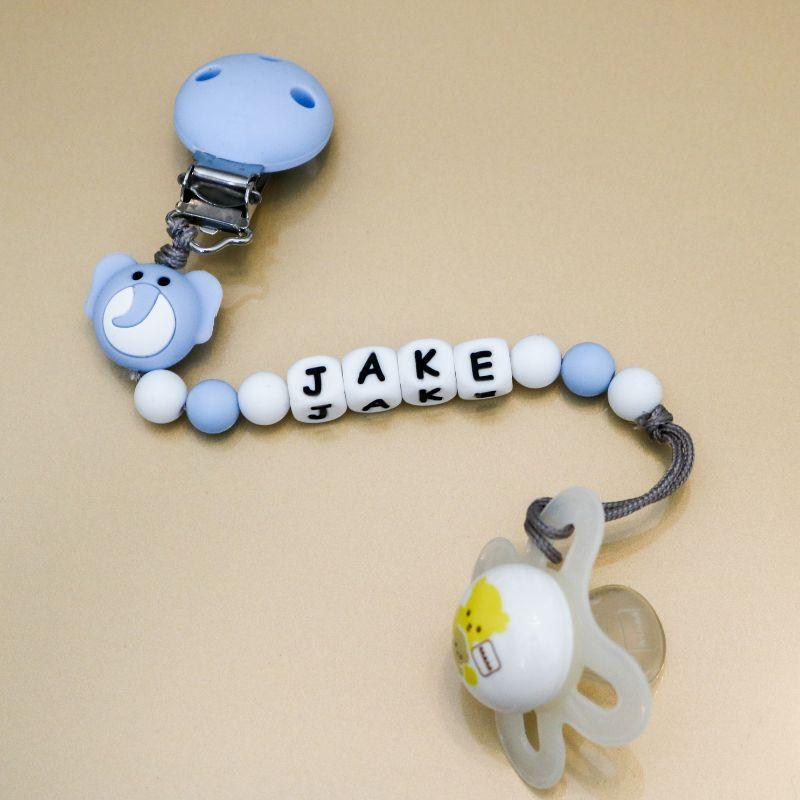
Never lose a dummy again with our range of personalised baby clips. Lightweight, sturdy and chew-friendly, our handmade, BPA-free, personalised dummy clips make the perfect gift for newborns and small babies. Designed for babies aged 0 to 24 months.
Choosing a personalised dummy clip
You can choose from our pre-made personalisable dummy chains or create your own. Beads come in various colours and sizes, with wooden and metal dummy clips available.
How we make our personalised dummy clips
We’ve made our personalised dummy clips using BPA-free silicone beads, with the total length of each clip under 10 inches to prevent accidents. To keep the clip and beads securely fastened, we’ve made each dummy chain with two lengths of reinforced cord, secured with a double knot on either end.
Our dummy chains and clips are cute, but they’re not toys. If you notice a loose bead or string, dispose of the clip immediately. Babies and children should always be supervised when wearing a dummy clip.
Customising your dummy clips
Choose from a range of beads and personalise your dummy clip with up to 6 letters. With dummy clips for boys and girls and gender-neutral variations, you can create the perfect dummy holder for your little one in just a few clicks.
Safety advice
- Do not leave your child unattended when the baby clip is in use.
- Do not untie or adjust the length of the cord, as this could loosen the beads and clip. Loose beads are choking hazards for babies and small children.
- Attach the dummy clip to a solid piece of clothing on your baby, e.g. a vest or babygrow. Do not attach to ribbons, string, or loose clothing such as a headband. Attaching to an unsecured piece of clothing increases the risk of strangulation.
- When cleaning, wash in warm, soapy water, rinse thoroughly and leave to dry.
How to make a personalised dummy clip
As with most things arts and crafts, dummy chains aren’t that hard to make. With the right tools and patience, you can create your own in roughly 20 minutes. If you’re interested, we’ve outlined the steps and linked to a really helpful YouTube tutorial.
Step 1: Get your tools ready
The first step in the process is getting the tools ready. You’ll need a needle, cord, your selection of beards and a clip. You can choose metal, wood, or plastic for the clip.
Step 2: Create a loop around the clip
Cut a piece of cord around 20 inches long and loop around the clip. Tie a knot as close to the clip as possible to keep the clip in place.
Step 3: Thread the needle and beads
Thread the cord through the eye of the needle, then thread the needle through the beads. Thread the beads in order, and if personalising the clip, make sure the beads appear in the correct order, with the letters facing the right way.
Step 4: Thread the beads again
Once you’ve threaded the beads, you’ll need to rethread the needle with the loose cord on the other end of the clip and thread that side through the beads. Double threading creates a more sturdy chain, which can help prevent damage to the clip. Once threaded, you can cut any loose bits of cord on the chain.
Step 5: Secure each end
Once you’ve completed the threading, tie a double knot at the end of the clip. Pull the knot as hard as possible to secure the beads, then cut away any loose remaining cord.


